


Cut PDF
It's a tool which allows to edit your pdf files rapidly for free. Every editing happens in the browser means no file is sent to any server. It means you can also install this app as PWA in your laptop to edit your PDF offline!.
If you want you can also share your pdf files with others instantly.
As of now it supports these features.
- Split a PDF file to multiple PDF files
- Merge a two or more PDF files to single PDF file
- Remove one or more pages from a PDF file
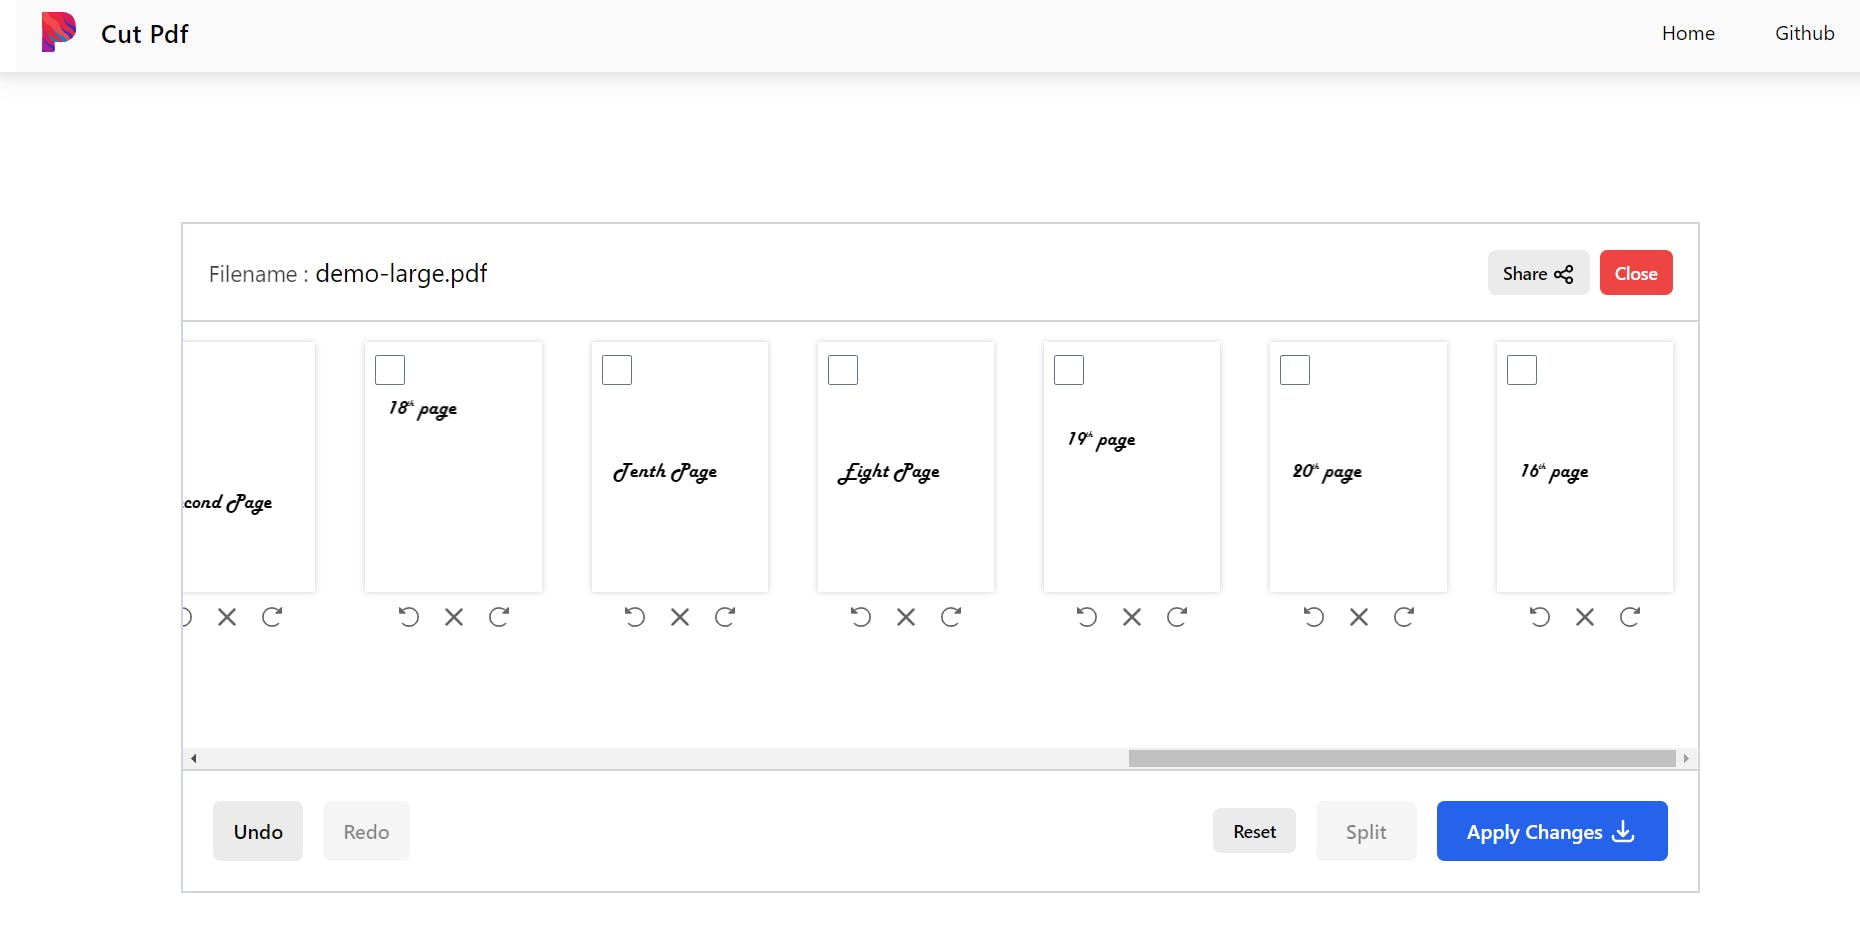
- Rotate a page in a PDF file.
- Reorder pages in PDF file.
- Share your PDF files to others
Links
Inspiration
Being a student myself there are lot times I will need a tool which just edits a PDF files. But there are no tools I could find which satisfies my requirements.
Thats why I decided to make a tool which I will use
Code
Dependencies
I have used
- react-pdf for rendering PDF document
- pdf-lib for manipulating the PDF file itself
- react-beautiful-dnd for implementing Drag and Drop
- immer and use-immer for managing local but complex state
- react-redux and @reduxjs/toolkit for managing state needed across site
- @supabase/supabase-js for communicating with supabase storage
- react-loader-spinner for creating loader animation
- nanoid for creating unique ids
For communicating with harperDB I am using their REST api
Features
Uploading a file
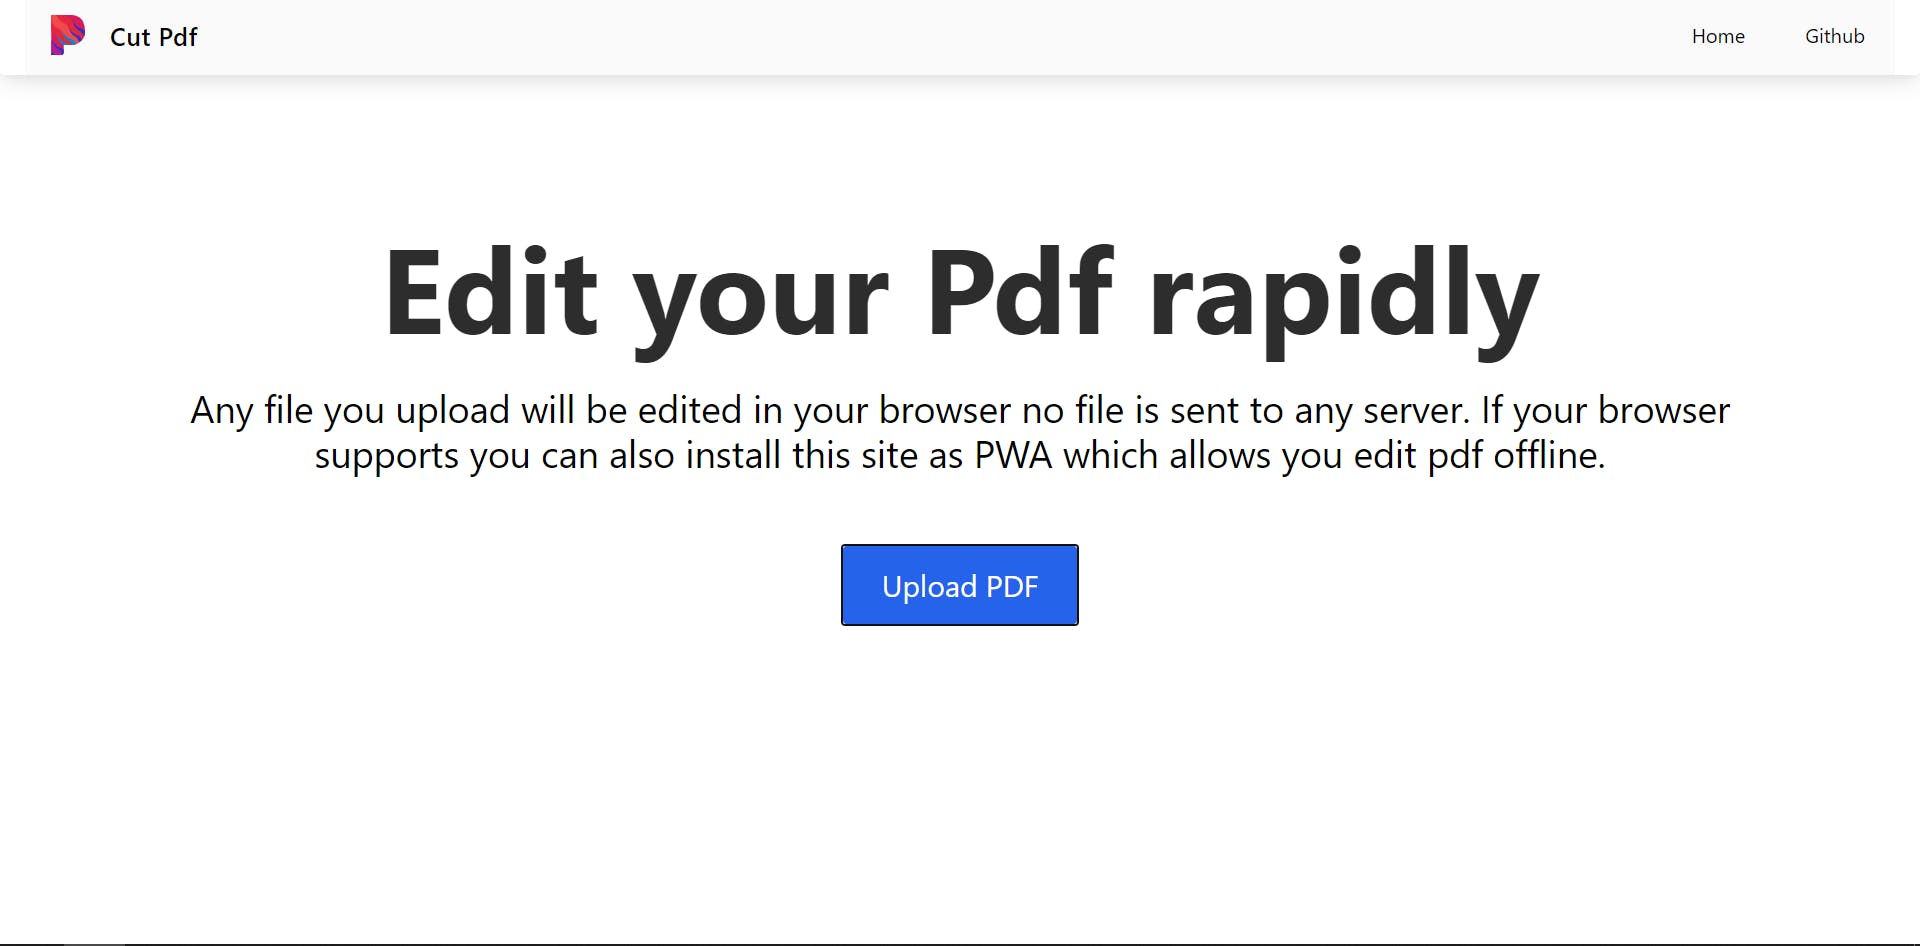
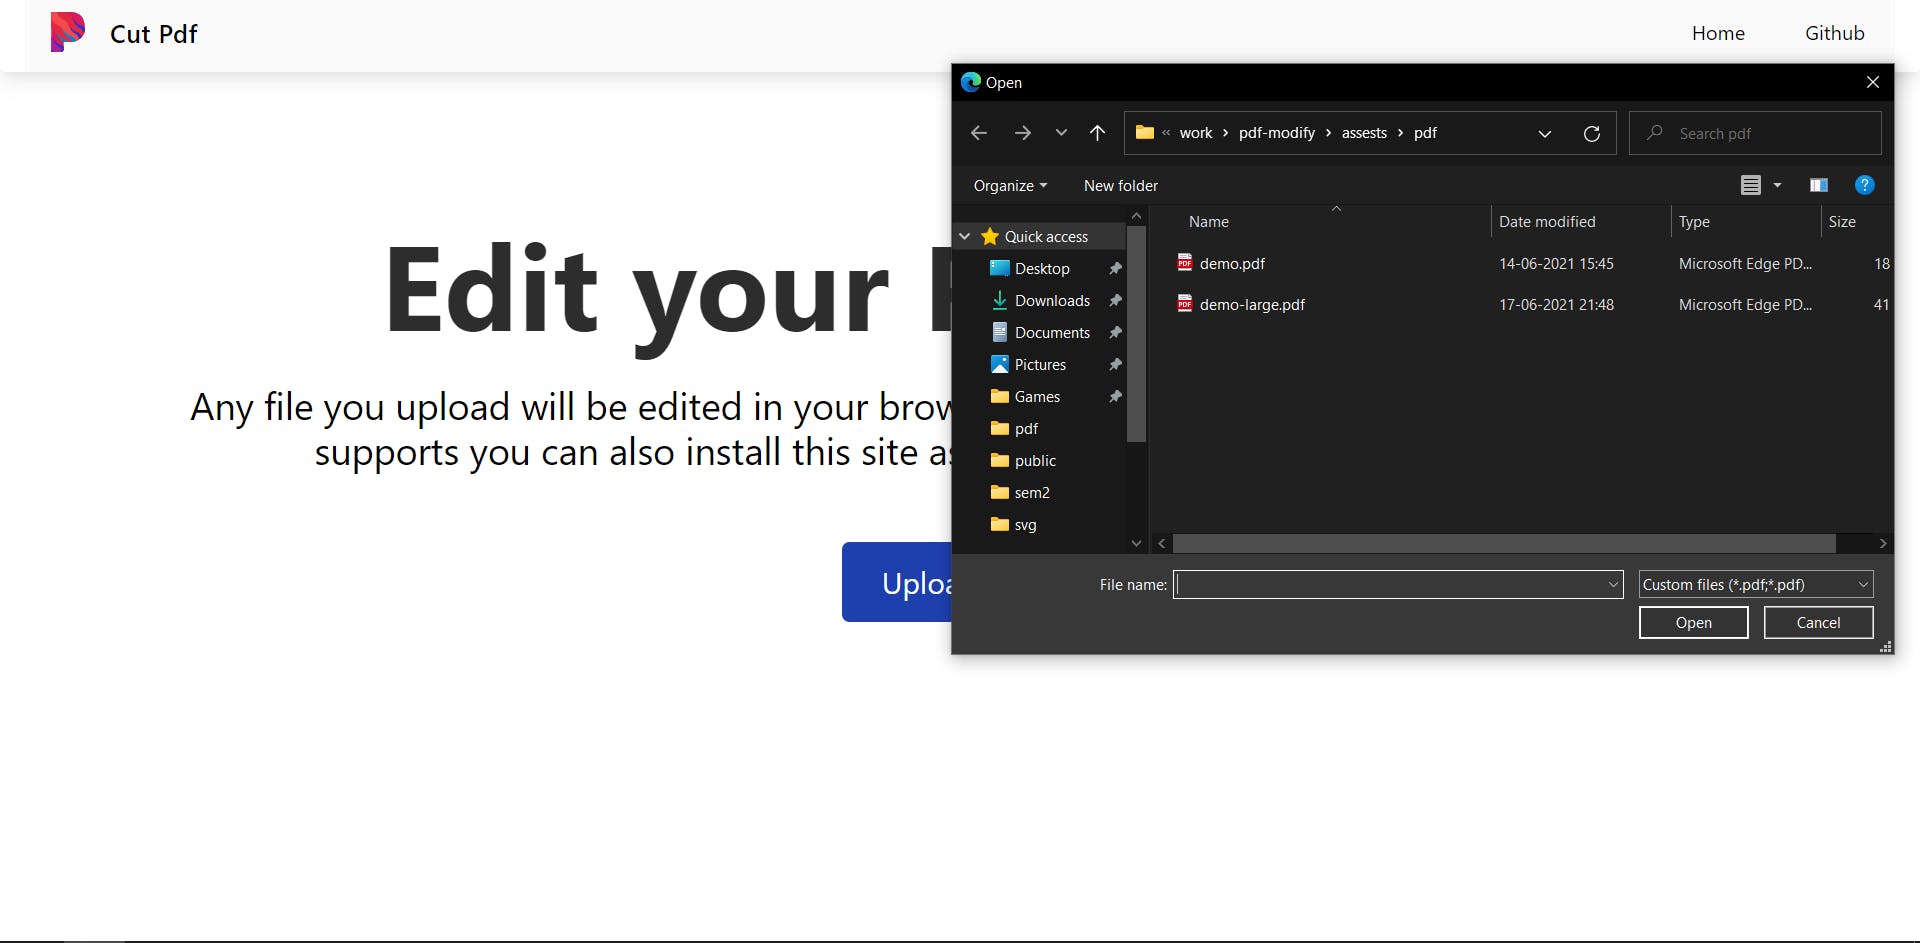
The button upload PDF allows you to upload pdf from your computer. We will then load those file and convert that to a url.
Challenges
The only way achieve this is by using a input element whose type attribute is set to file. But default styling for <input type="file" /> does not look good and modifying to make it look good is also tough.
As a result I decided to hide the input element and instead render a button element. And when user clicks the button we can stop its default behavior and click input element programmatically.
The resulting code looks like this
export const Upload = () => {
  const originalFileInput = useRef<HTMLInputElement | null>(null);

  const onClickOpenFilePicker = useCallback(
    (e: React.MouseEvent<HTMLButtonElement, MouseEvent>) => {
      e.preventDefault();

      if (!originalFileInput.current) {
        throw new Error(
          `OriginalFileInput ref is null. Pass the ref to input[type="file"] element`
        );
      }

      originalFileInput.current.click();
    },
    []
  );


  return (
    <div>
      <PdfInput multiple  ref={originalFileInput} />
      <button
        className="bg-blue-600 text-white text-2xl px-8 py-4 rounded-md grid place-items-center hover:bg-blue-800 animate-hover"
        onClick={onClickOpenFilePicker}
      >
        Upload PDF
      </button>
    </div>
  );
};
Rendering PDFs
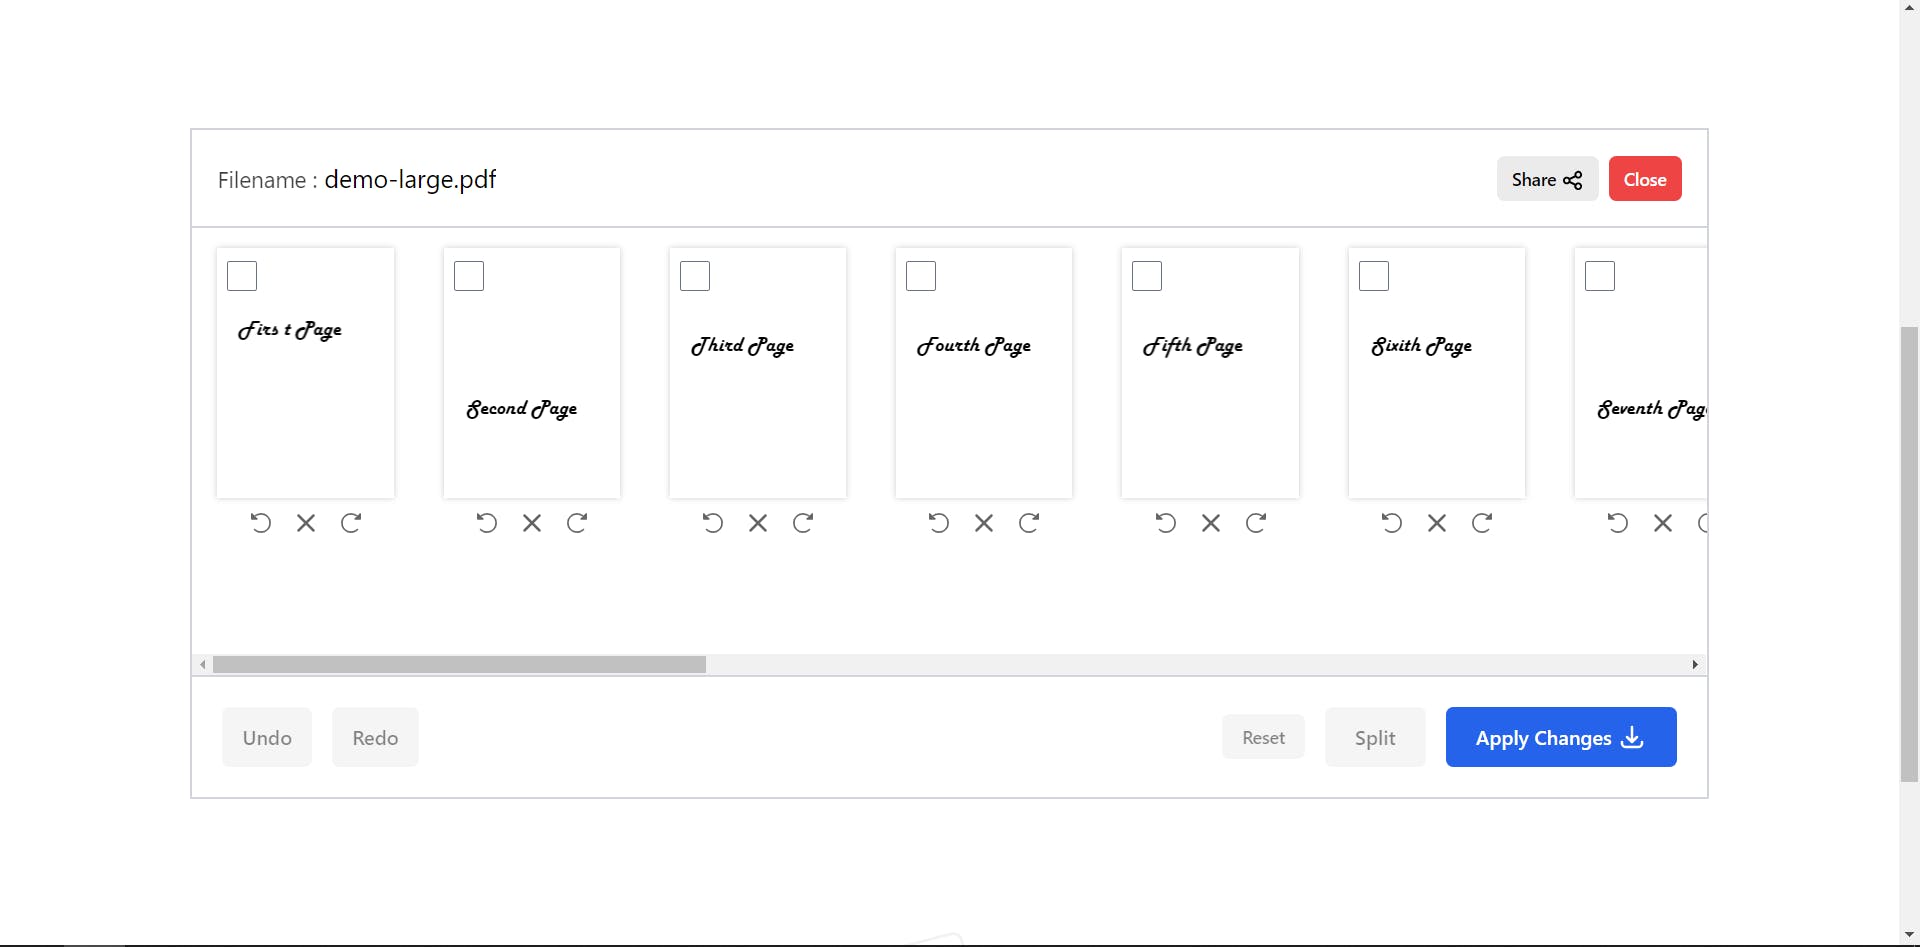
Once the user selected the PDFs we will render that particular PDF with the help of react-pdf.
But instead of just passing File to react-pdf we will be converting File to url and then pass that to react-pdf.
Challenges
To convert File to url at first we have to convert it to arrayBuffer. Only way to that is to use FileReader api. But FileReader api is not Promise based but rather event based. which means there is no function like convertToArrayBuffer(file : File) : Promise<arrayBuffer>.
I decided to overcome this problem by creating my own Promise based convertToArrayBuffer function.
export const convertToArrayBuffer = (file: File) => {
  return new Promise<ArrayBuffer>((resolve, reject) => {
    const fileReader = new FileReader();

    const onError = (e: ProgressEvent<FileReader>) => {

      // eslint-disable-next-line @typescript-eslint/no-non-null-assertion
      reject(e.target!.error!);
    };

    const onLoad = (e: ProgressEvent<FileReader>) => {
      const result = e.target?.result;

      if (!(result instanceof ArrayBuffer)) {
        throw new Error("The data should only be loaded as Array Buffer");
      }

      resolve(result);
    };

    fileReader.onerror = onError;
    fileReader.onload = onLoad;

    fileReader.readAsArrayBuffer(file);
  });
};
After this converting a File to url is very simple.
export const fileToUrl = async (file : File) => {

  const arrayBuffer = await convertToArrayBuffer(file);
  const blob = new Blob([arrayBuffer], {type : "application/pdf" });
  const url = URL.createObjectURL(blob);

  return url

}
Sharing files to others
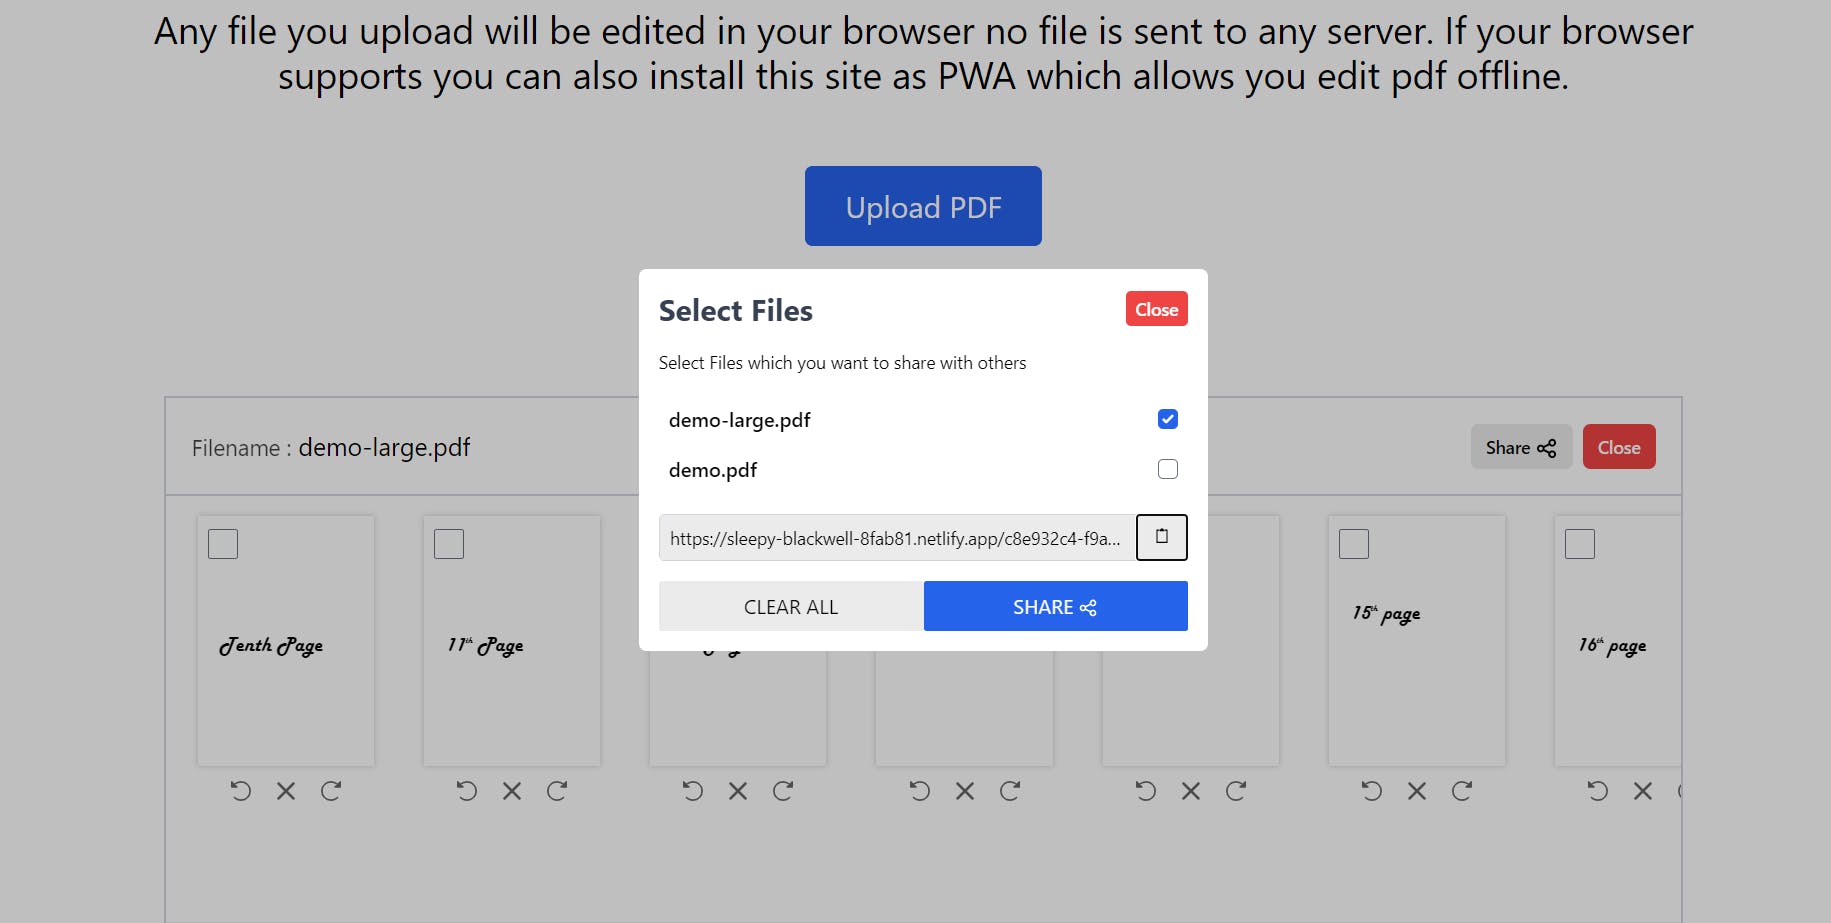
To share files pdf with others will be using HarperDB and since HarperDB does not support storing large binary files we will be also using another service to store our pdf files.
There are a lot of tutorials to get started with HarperDB and setting up cloud instances I will be sharing one of the links here
Once you setup the HarperDB we will have to create schema, table and user
At first we will create a schema called dev. To do that you can either use a HarperDb studio or else you can use their REST api.
const myHeaders = new Headers();
myHeaders.append("Content-Type", "application/json");
myHeaders.append("Authorization", `Basic ${btoa(`${import.meta.env.VITE_HARPER_USER_NAME}:${import.meta.env.VITE_HARPER_PASSWORD}`)}`);

const raw = JSON.stringify({
    "operation":"create_schema",
    "schema":"dev"
});

const requestOptions = {
  method: 'POST',
  headers: myHeaders,
  body: raw,
  redirect: 'follow'
};

fetch(${import.meta.env.VITE_HARPER_DB_URL}, requestOptions)
  .then(response => response.text())
  .then(result => console.log(result))
  .catch(error => console.log('error', error));
Then we will be creating a table called pdfs to store information regarding shared PDF.
const myHeaders = new Headers();
myHeaders.append("Content-Type", "application/json");
myHeaders.append("Authorization", `Basic ${btoa(`${import.meta.env.VITE_HARPER_USER_NAME}:${import.meta.env.VITE_HARPER_PASSWORD}`)}`);

const raw = JSON.stringify({
    "operation":"create_table",
    "schema":"dev",
    "table":"pdfs",
    "hash_attribute":"id"
});

const requestOptions = {
  method: 'POST',
  headers: myHeaders,
  body: raw,
  redirect: 'follow'
};

fetch(`${import.meta.env.VITE_HARPER_DB_URL}`, requestOptions)
  .then(response => response.text())
  .then(result => console.log(result))
  .catch(error => console.log('error', error));
Default user is super_user which canCreate, Read, Update, Delete every data in the database. Using that user in frontend is security risk. Thats why we will be creating a new user which has limited access to database.
I created a user named web which has this access
{
  dev: {
    tables: {
      pdfs: {
        read: true,
        insert: true,
        update: false,
        delete: false,
        attribute_permissions: []
      }
    }
  }
}
With this access the web can only read or insert data in pdfs.
This will be our schema for the table pdfs
type Schema = {
  id: string;
  files: {
    count: number;
    files: { url: string; fileName: string }[];
  };
};
The logic for uploading the files
const uploadFileToStorage = async (file: File) => {
  const res = await supabase.storage.from("test-hack").upload(`${nanoid()}.pdf`, file);

  if (!res.data) {
    throw new Error("There is something wrong in uploading files to supabase");
  }

  const key = res.data.Key;
  const publicUrl = `${import.meta.env.VITE_DB_URL}/storage/v1/object/public/test-hack/${
    key.split("/")[1]
  }`;

  return publicUrl;
};

const uploadToHarper = async (props: { url: string; fileName: string }[]) => {
  const headers = new Headers();
  headers.append("Content-type", "application/json");
  headers.append(
    "Authorization",
    `Basic ${btoa(`${import.meta.env.VITE_HARPER_NAME}:${import.meta.env.VITE_HARPER_PASSWORD}`)}`
  );

  const raw = JSON.stringify({
    operation: "insert",
    schema: "dev",
    table: "pdfs",
    records: [
      {
        count: props.length,
        files: props,
      },
    ],
  });

  const requestOptions = {
    method: "POST",
    headers: headers,
    body: raw,
  };

  const harperRes = await fetch(import.meta.env.VITE_HARPER_URL, requestOptions);

  if (harperRes.ok) {
    const { inserted_hashes } = await harperRes.json();
    return inserted_hashes[0];
  }

  throw new Error("Something is gone wrong");
};

const uploadToStorage = async (info: FileInfo, updatedFile: ChangedPdfFiles) => {
  const updatedUrl = await applyChangesToPdf(info.url, updatedFile);
  const file = await urlToFiles(updatedUrl, info.name);
  const storageUrl = await uploadFileToStorage(file);

  URL.revokeObjectURL(updatedUrl);

  return storageUrl;
};
Viewing Shared PDFs
The generated url will be of this pattern <location.origin>/<id>. id here represents the id in pdfs table schema.
So whenever a user goes to url for example <location.origin>/3245454-43535-2-3232 the id here is 3245454-43535-2-3232.
We will take that id and check if there is a valid record with that id in HarperDb if true then we load the PDFs from that record. If there is no record with the id then we will show 404 error page.